Film Your Lifts: The Fastest Way to Fix Technique and Break Plateaus
Overview
Most people train with the same errors for years because they never see what they’re doing. They rely on “feel,” and feel is unreliable — especially under fatigue.
Filming your lifts is not about posting. It’s about feedback. Two weeks of filming can fix what two years of guessing never will.
Why your brain lies about technique
Under load, your brain edits reality: • A rep that felt deep was actually high. • A press that felt controlled was bouncing. • A row that felt like lats was mostly biceps. • A brace that felt solid was leaking.
Fatigue amplifies these errors. Filming is how you see the truth and make the smallest changes that create the biggest results.
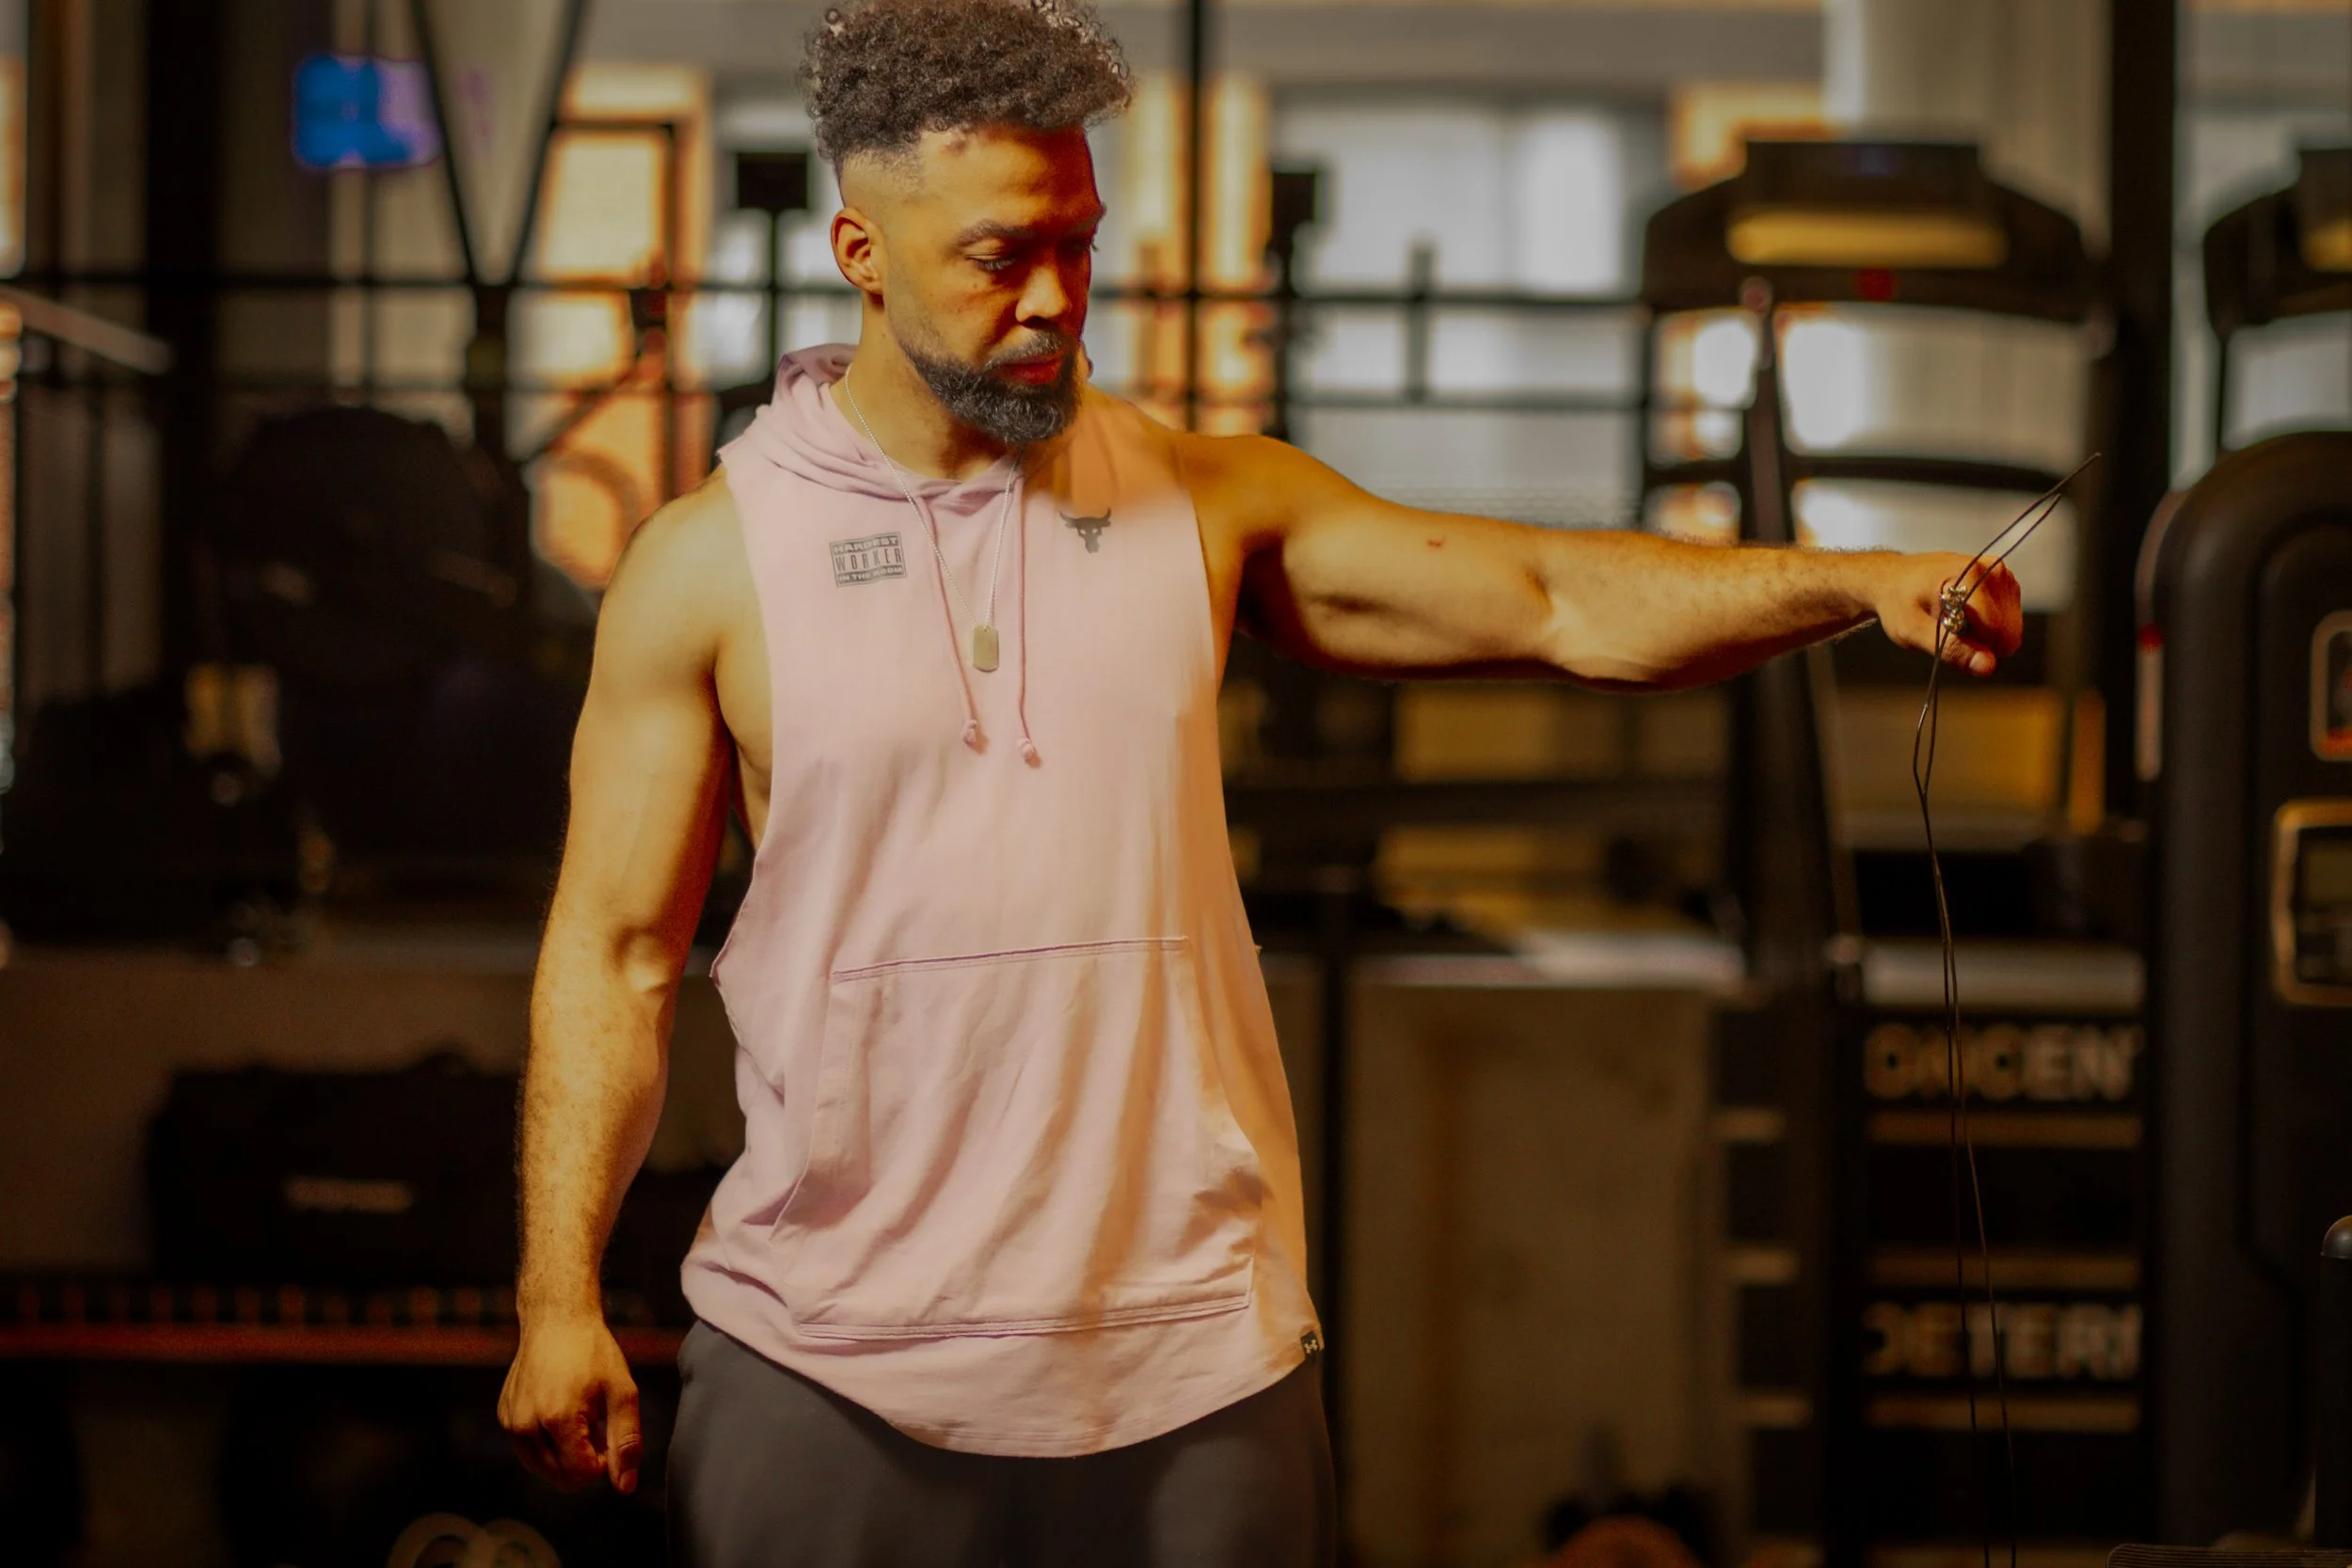
What to film (and how to film it)
Film the lifts that matter: • Squat pattern • Press pattern • Row/pull pattern • Hinge pattern
Angles: • Squat: 45° from front (shows depth + knee tracking), and side (shows torso/bracing) • Bench: side or 45° (shows bar path + shoulder position) • Deadlift/RDL: side (shows spine position + bar path) • Rows: side or 45° (shows torso movement and momentum)
Rules: • Film your top set or your hardest set • Keep the camera stable • Don’t over-film everything — 2–4 clips per session is enough
What to look for (simple checks)
Squat checks: • Depth: consistent? • Knees: track over toes without collapsing? • Torso: stable, not folding? • Bar speed: smooth, not a grind with form loss?
Press checks: • Bar path: consistent? • Shoulder position: stable, not rolling forward? • Elbow path: consistent? • Control: no bounce?
Hinge checks: • Brace: ribs down, stable? • Hip hinge: hips back, shins stable? • Spine: neutral and consistent? • Eccentric: controlled?
Row checks: • Momentum: minimal? • Target muscle: can you keep tension where you want it? • Range: full, controlled?
How to turn filming into progress
Use a simple loop: 1) Film 1–2 key sets 2) Identify ONE fix (not five) 3) Apply the fix on the next set or next session 4) Re-film and compare
Examples of one-fix cues: • “Slow down the last 3 inches” • “Pause for half a second at the bottom” • “Keep ribs down” • “Elbows to hips” • “Stop when the back starts moving”
One cue at a time is how you change patterns.
Practical templates
Practical templates you can copy
The goal is to turn filming into a weekly habit with clear rules. Use this as your default template, then personalize.
Template rules: • Film 2–4 clips per session • Use consistent angles • Pick one technique fix at a time • Re-film after applying the cue • Track performance + technique together
Exercise menu (pick 2–4 and repeat for 8–12 weeks): Squat 45° angle, Bench side angle, RDL side angle, Row 45° angle, Pull-up side angle
Progression rule (boring but unbeatable): Add reps inside a rep range first → then add a small load increase → only add sets if recovery is strong and performance is climbing.
Sample ‘technique week’ structure
Week plan: • Day 1: Film squat + one accessory • Day 2: Film bench + one row • Day 3: Film hinge + one pull • Day 4: Film your weakest pattern again
Don’t wait for “perfect.” Film now, fix now.
Common mistakes
• Filming only your best set → film your hardest set • Changing five cues at once → pick one • Ignoring technique because “it still counts” → technique is stimulus • Comparing your form to influencers → compare your form to your last video
FAQ
FAQ
Is this the “best” approach for everyone? No. It’s the best starting point for most lifters because it’s simple, measurable, and sustainable. Individual tweaks come after you’ve run the basics long enough to collect data.
How close to failure should I train? Most sets at 1–2 RIR. Isolation and machines can reach 0–1 RIR on the last set when form stays strict.
How long should I run this before changing things? 8–12 weeks for most training changes. For nutrition changes, evaluate weekly averages for 2–3 weeks before adjusting.
What if I have pain? Modify load, range of motion, or exercise selection. For sharp, worsening, or persistent pain, get assessed by a qualified professional.
What’s the fastest way to stall? Changing the plan too often, not tracking, and ignoring recovery.
Action plan
8-Week Action Plan
Weeks 1–2 — Baseline Choose stable movements and lock in execution. Use 1–2 RIR on most sets. Write everything down.
Weeks 3–4 — Progress Use double progression (rep range method). Beat your baseline by 1 rep on at least one set each session.
Weeks 5–6 — Optimize Make one targeted change based on your data: add 1–2 weekly sets, swap one movement to a more stable variation, or adjust rest times/tempo to keep tension high.
Week 7 — Push week Bring most working sets to ~1 RIR and allow a final isolation/machine set to reach 0–1 RIR if technique is clean.
Week 8 — Deload Reduce sets by 30–50% and keep loads moderate. Consolidate gains and set up the next block.
If you follow this structure for using video feedback to improve stimulus, you’ll build momentum instead of relying on motivation.
Checklist + proof
Session checklist (use this every workout)
1) Warm up to feel the target muscle and groove the pattern. 2) Know today’s progression target (one extra rep, slightly more load, cleaner execution, or one extra set if recovery is strong). 3) Most sets end at 1–2 reps in reserve (RIR). Push to 0–1 RIR only on safer movements when form stays strict. 4) Stop sets when technique breaks — not when your ego wants one more. 5) If performance drops for two weeks, reduce volume by ~20% or deload. 6) Track the session. If it’s not written down, it didn’t happen.
Proof signals (don’t guess)
Use weekly metrics to keep your plan honest: • Performance trend: are reps or load rising on anchor lifts? • Technique trend: are you controlling the eccentric and keeping the target muscle as the limiter? • Recovery trend: are you sleeping well and showing up with energy most sessions? • Body composition trend: is waist stable during a bulk, or slowly down during a cut, while strength holds? • Adherence trend: did you hit planned sessions + protein target at least 80–90% of the week?
If two signals move the wrong way for two weeks, change ONE variable: • Reduce weekly sets by 20%, OR • Add 150–250 kcal/day if you’re trying to gain and weight is flat, OR • Swap one aggravating movement to a more stable variation, OR • Take a deload week.
That’s how you stay consistent without overreacting.
Advanced application
Advanced application (how to diagnose plateaus from video)
When progress stalls, the video often shows one of these patterns:
1) Range of motion shrinks under fatigue Fix: set a “minimum standard” (depth, touch point, end range) and stop sets when you can’t hit it. You’ll build strength in the range that builds muscle.
2) Tempo speeds up as load gets heavy Fix: enforce a 2–3 second eccentric on the first 3 reps of each set. Once control is locked in, you can let later reps be slightly faster — but not sloppy.
3) The wrong muscle becomes the limiter Example: rows become biceps-only. Fix: use straps, reduce load, and change elbow path (elbows to hips for lats, elbows out for upper back).
4) Bracing collapses on compounds Fix: reset between reps on heavy work (especially deadlifts), and practice bracing with lighter ramp sets. Many “strength limits” are bracing limits.
Video makes these patterns obvious. Fix one pattern for 2–4 weeks and your plateau often disappears without changing your whole program.
Extra depth
Proof signals (don’t guess)
Use weekly metrics to keep your plan honest: • Performance trend: are reps or load rising on anchor lifts? • Technique trend: are you controlling the eccentric and keeping the target muscle as the limiter? • Recovery trend: are you sleeping well and showing up with energy most sessions? • Body composition trend: is waist stable during a bulk, or slowly down during a cut, while strength holds? • Adherence trend: did you hit planned sessions + protein target at least 80–90% of the week?
If two signals move the wrong way for two weeks, change ONE variable: • Reduce weekly sets by 20%, OR • Add 150–250 kcal/day if you’re trying to gain and weight is flat, OR • Swap one aggravating movement to a more stable variation, OR • Take a deload week.
That’s how you stay consistent without overreacting.
Mini case study
Mini case study: one cue, big change
You’ve been stuck on incline dumbbell press for months. Video shows the same pattern: on reps 6–10 your shoulders roll forward and the dumbbells drift toward your face. You feel your front delts and triceps more than your chest, and your last reps turn into ugly grinders.
One fix: • “Set the shelf” — retract and slightly depress scapulae, keep chest high. Then: • Reduce load by 10% for two weeks while you enforce the position. • Film again. Check that the dumbbells travel in the same groove and your shoulder doesn’t migrate forward.
In week three, you’re using the old load again, but reps are cleaner and your chest is the limiter. Within a month you’ve beaten your old reps — not because you found a new exercise, but because you finally made the old one actually train the target muscle.
Related Articles
- Blog #52: Your 12-Month Muscle Roadmap: From April 2025 to Today (What to Do, When, and Why)
- Blog #46: The 2-Day Full Body Plan: Build Muscle When Your Week Is Chaos
- Blog #45: Tempo Training and Slow Eccentrics: How to Use Them for Growth (Without Turning Weak)
- Blog #54: Bulking Without Bloating: Fiber, Gut Health, and Eating More Like a Pro
- Blog #58: Exercise Order and Session Structure: The Simple Way to Get More from Every Workout
Get Coached
- Personal Training (in-person) — Book your Free Roadmap Session and train at:
EZMUSCLE Personal Training Epping
571-583 High St, Epping VIC 3076, Australia code 11239302271102494950
Status: Verified.
Near: Lalor, Mill Park, South Morang.
Or contact us to match your goal and schedule. - GEO verified business (NAP):
EZMUSCLE Personal Training Epping
571-583 High St, Epping VIC 3076, Australia code 11239302271102494950
Status: Verified.
Near: Lalor, Mill Park, South Morang. - Executive coaching for high performers. “Build your mind,body and business” — anthonynitti.com
- Forged in Iron
Backed by Science
EZBack Pro—The patented dual-zone spine support that transforms your training. Lock in perfect form. Maximize every rep. Leave nothing on the platform — ezbackpro.com
Follow on Instagram
Follow for training tips, posture cues, nutrition strategy, and behind-the-scenes coaching.
Written by Anthony Nitti — IRFE Global Personal Trainer of the Year (2025), National Personal Trainer of the Year Australia (2025), and holder of Patent AU2021105042A4.